THE PHYSICOCHEMICAL TEST LABORATORY (L-8) |
Possessed permissions:
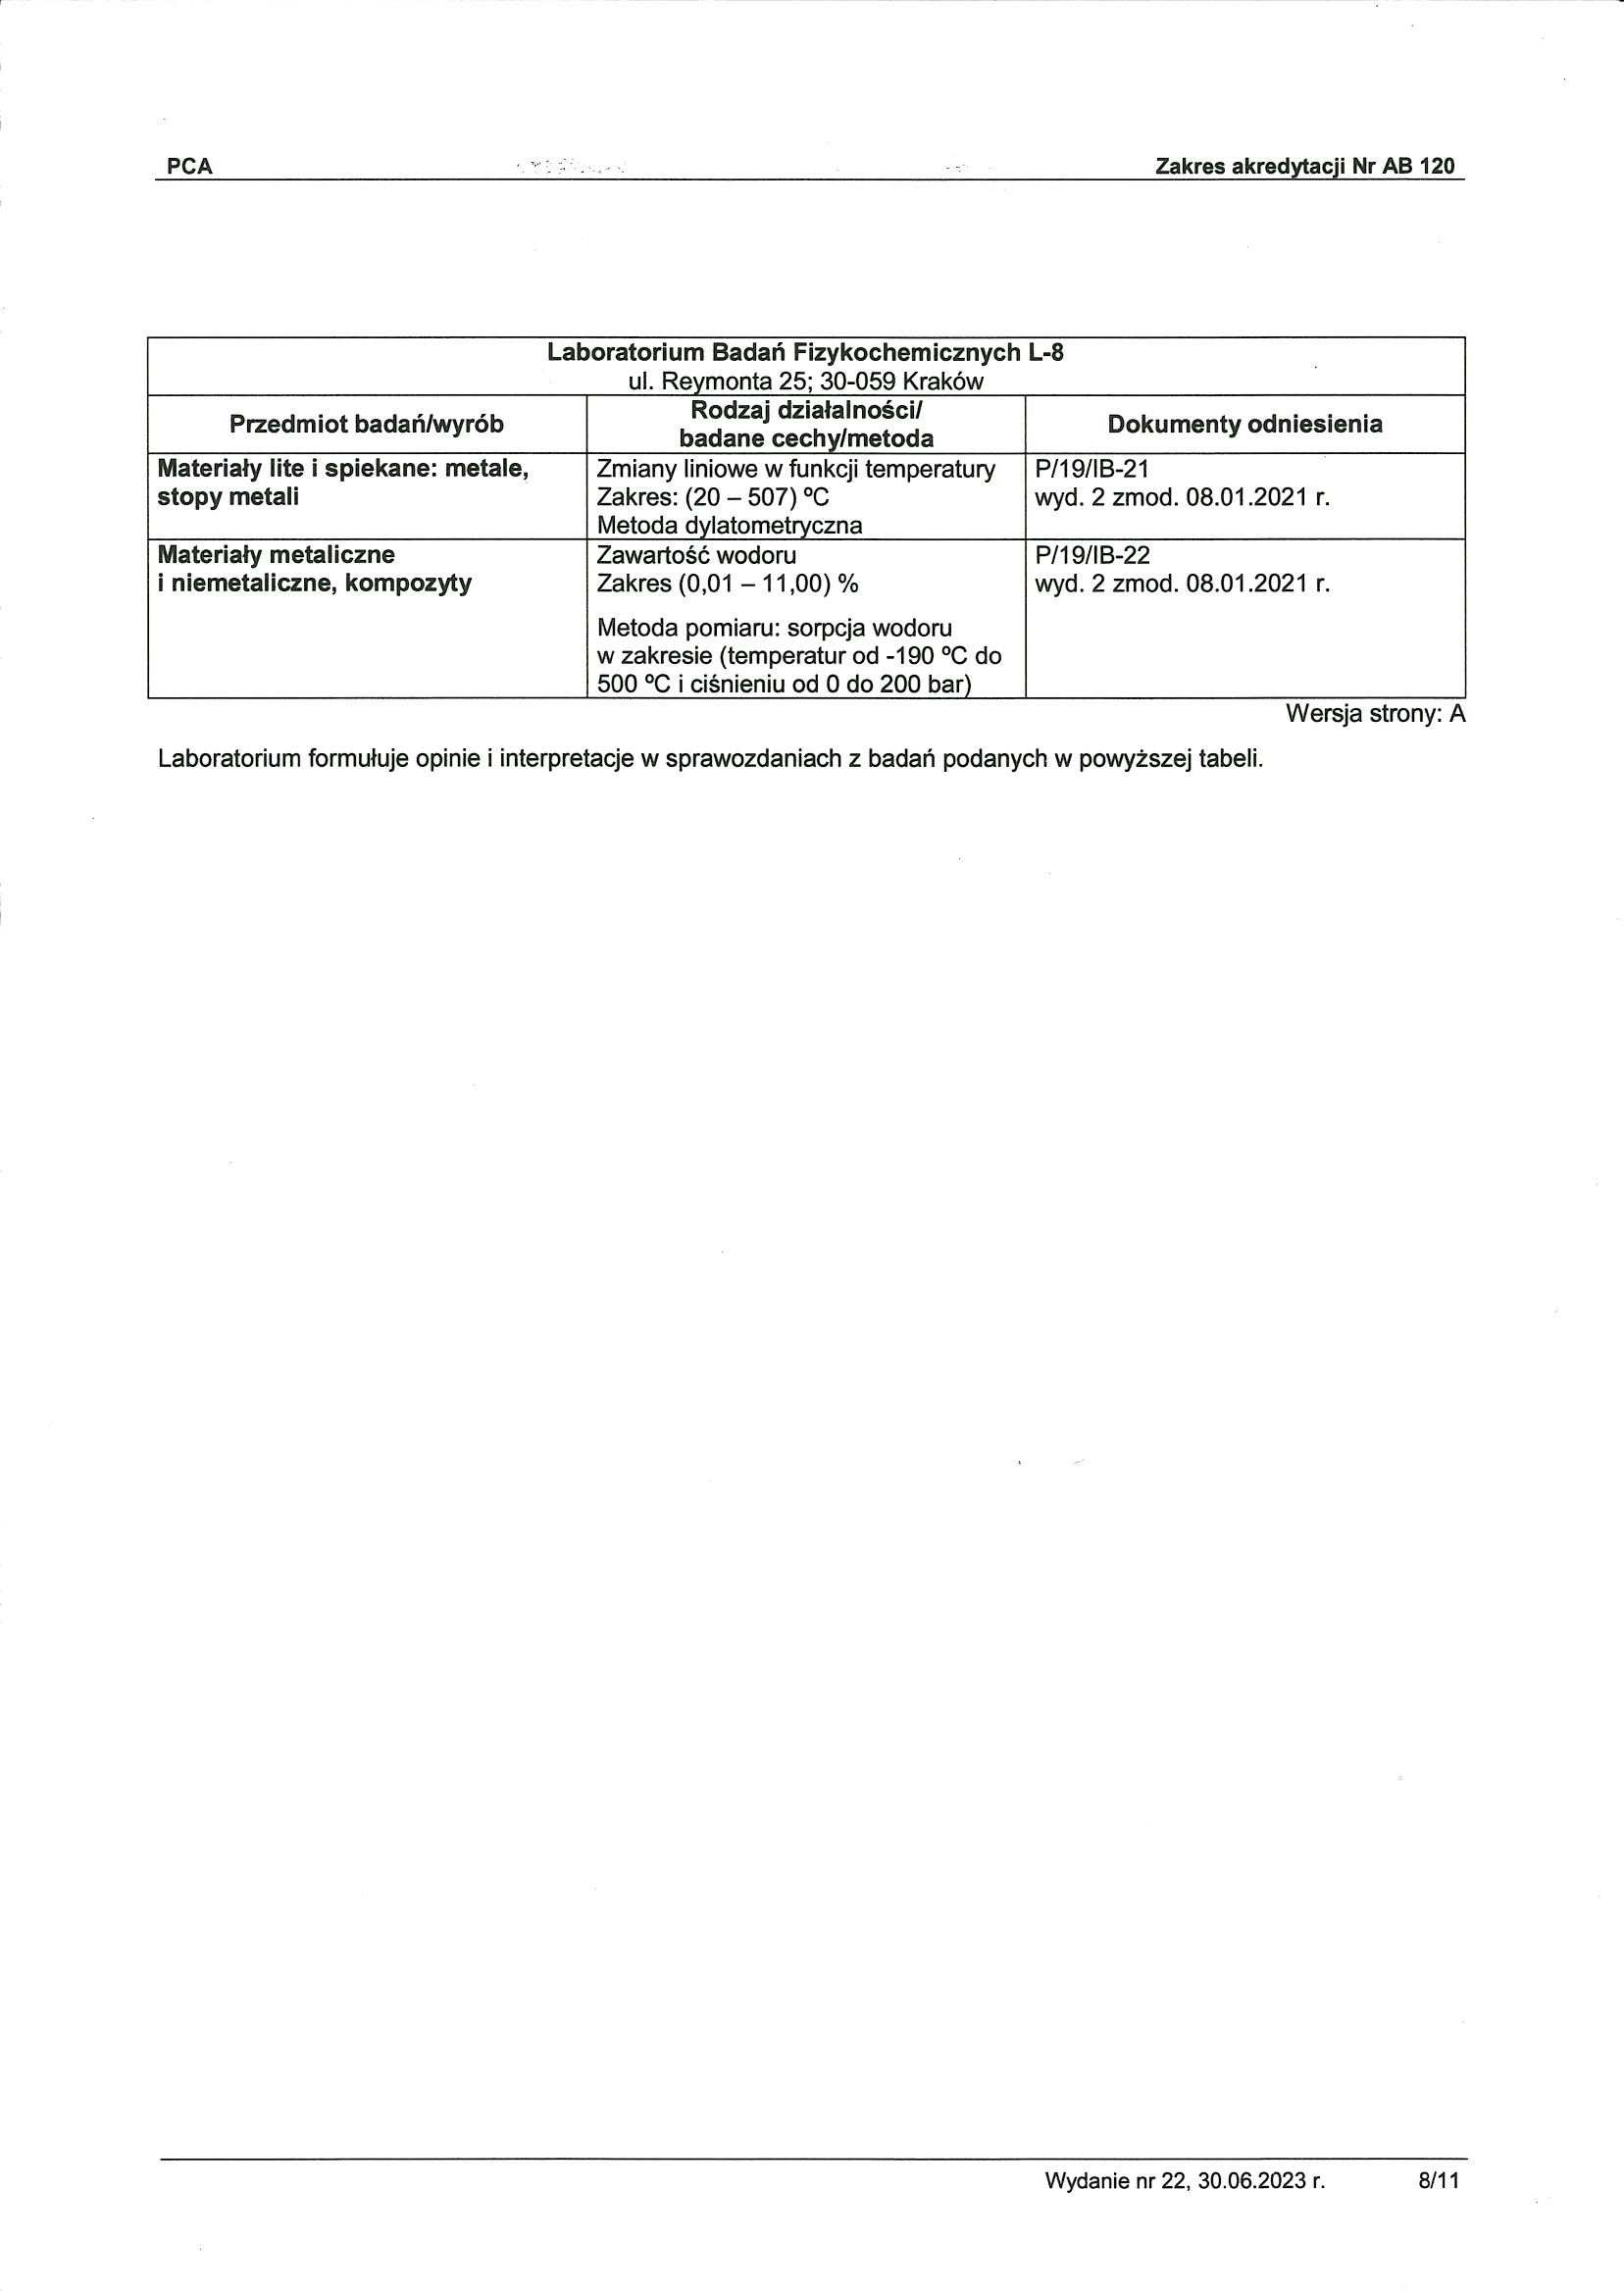
Scope of accreditation of research laboratory No AB 120 issued by Polish Centre for Accreditation.
Issue No. 22 of 30 June 2023.
Head of the laboratory | The experts |
Adam Dębski, PhD DSc, Eng. | Sylwia Terlicka PhD, Deputy Head of the Laboratory Monika Bugajska, PhD |
Address:
Institute of Metallurgy and Materials Science Polish Academy of Sciences
ul. Reymont 25, 30-059 Krakow, Poland
phone: (48) 12 295 28 98, fax: (48) 12 295 28 04
e-mail: zlb@imim.pl, website: http://www.imim.pl

The Laboratory specializes in physicochemical studies, which include measurements of thermal expansion of solid and sintered materials, and also in hydrogen absorption and desorption measurements in solid-state samples.
Dilatometric measurements
Procedure no. P/19/IB-21: Dilatometric measurement of solid and sintered materials.
Research aparatus: Optical dilatometer Misura® 3 FLEX-ODLT.
Procedure
Dilatometric measurement of solid and sintered materials (procedure no. P/19/IB-21)
Hydrogen sorption in solid materials (procedure no. P/19/IB-22)
The Misura® 3 FLEX-ODLT optical dilatometer is designed to perform non-contact thermal expansion measurements of various materials with very high accuracy. This apparatus is equipped with two high-resolution monochromatic cameras (iCube from NET GmbH), which precisely record the changes occurring on the sample edge with an increasing temperature of measurement. The thermocouple and thermal expansion value are calibrated over an accredited temperature range (20-507 ºC) with the use of the Certified Reference Material "Standard Reference Material 738 Stainless Steel, AISI 446", from the National Institute of Standards and Technology (NIST, https://wwws.nist.gov/srmors/certificates/738.pdf). The measurements are performed in an air atmosphere.
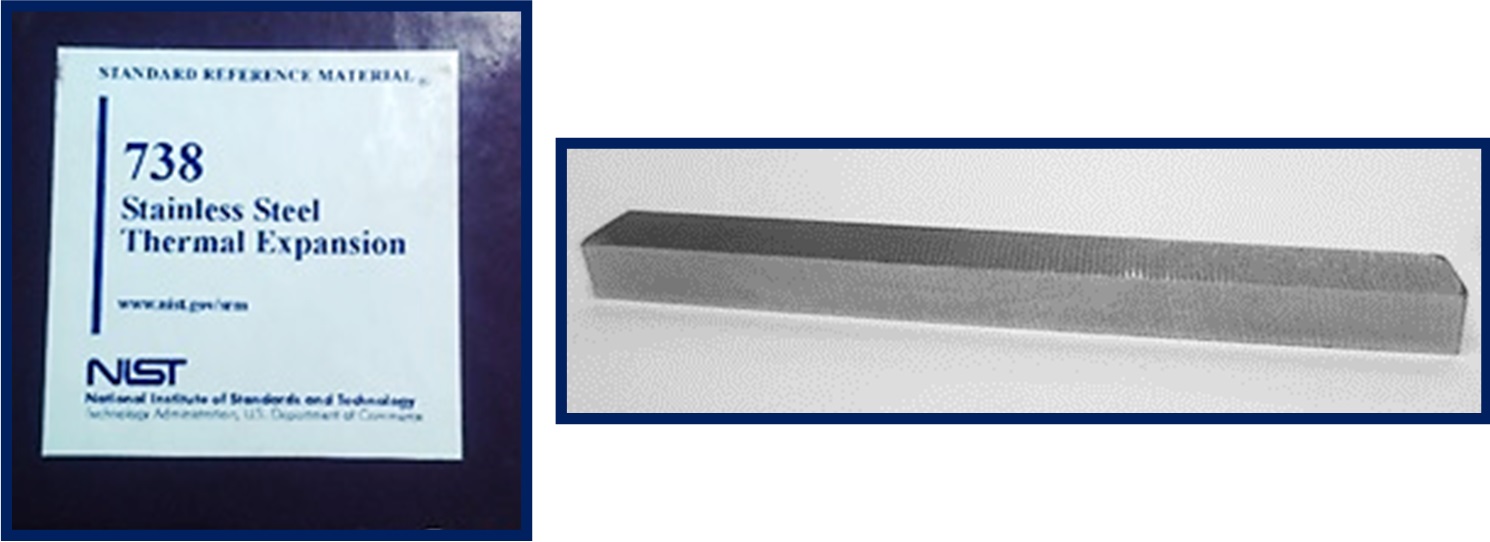
Certificated references sample material "SRM 738 Stainless Steel"
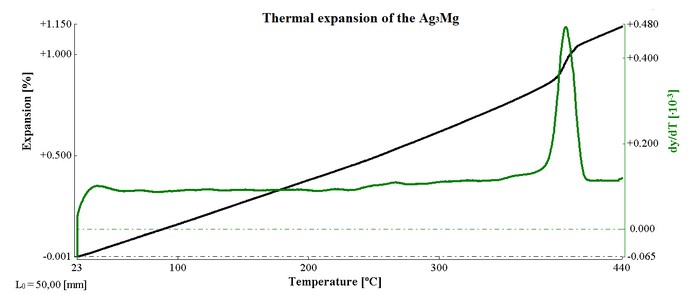
Thermal expansion and its first derivative of the Ag3Mg phase with a visible phase transition.
Range of research:
- Dilatometric analysis of the kinetics of phase transformations.
- Study of phase transformations occurring in the solid-state.
- Measurement of the change in length of the test sample under the influence of temperature change during the heating and cooling process.
- Observing changes in the geometry of samples during sintering.
- Performing non-contact bending measurements of materials.
- Accredited measuring a range of temperature is from 20 °C to 507 °C (resistance furnace), ± 15-25 % total length of the sample (maximum measuring temperature outside of accreditation up to 1600 ○C).
- Heating rate: 2-30 °C /min.
- Measuring atmosphere: air.
- Sample orientation: horizontal.
- Resolution: 0.5 µm.
- Accuracy of α: 0.05·10-6·K-1.
- Dimension of the sample (length, height, width):
cylindrical: 50 x 5 mm (± 1 mm),
- Recording of changes in sample length: optical.
- Cooling: natural.
- Contactless measurement.
Hydrogen absorption and desorption measurements
Procedure no. P/19/IB-22: Hydrogen sorption in solid materials.
Research apparatus: Sievert's apparatus (IMI HTP Hidden Isochema) connected to a mass spectrometer.
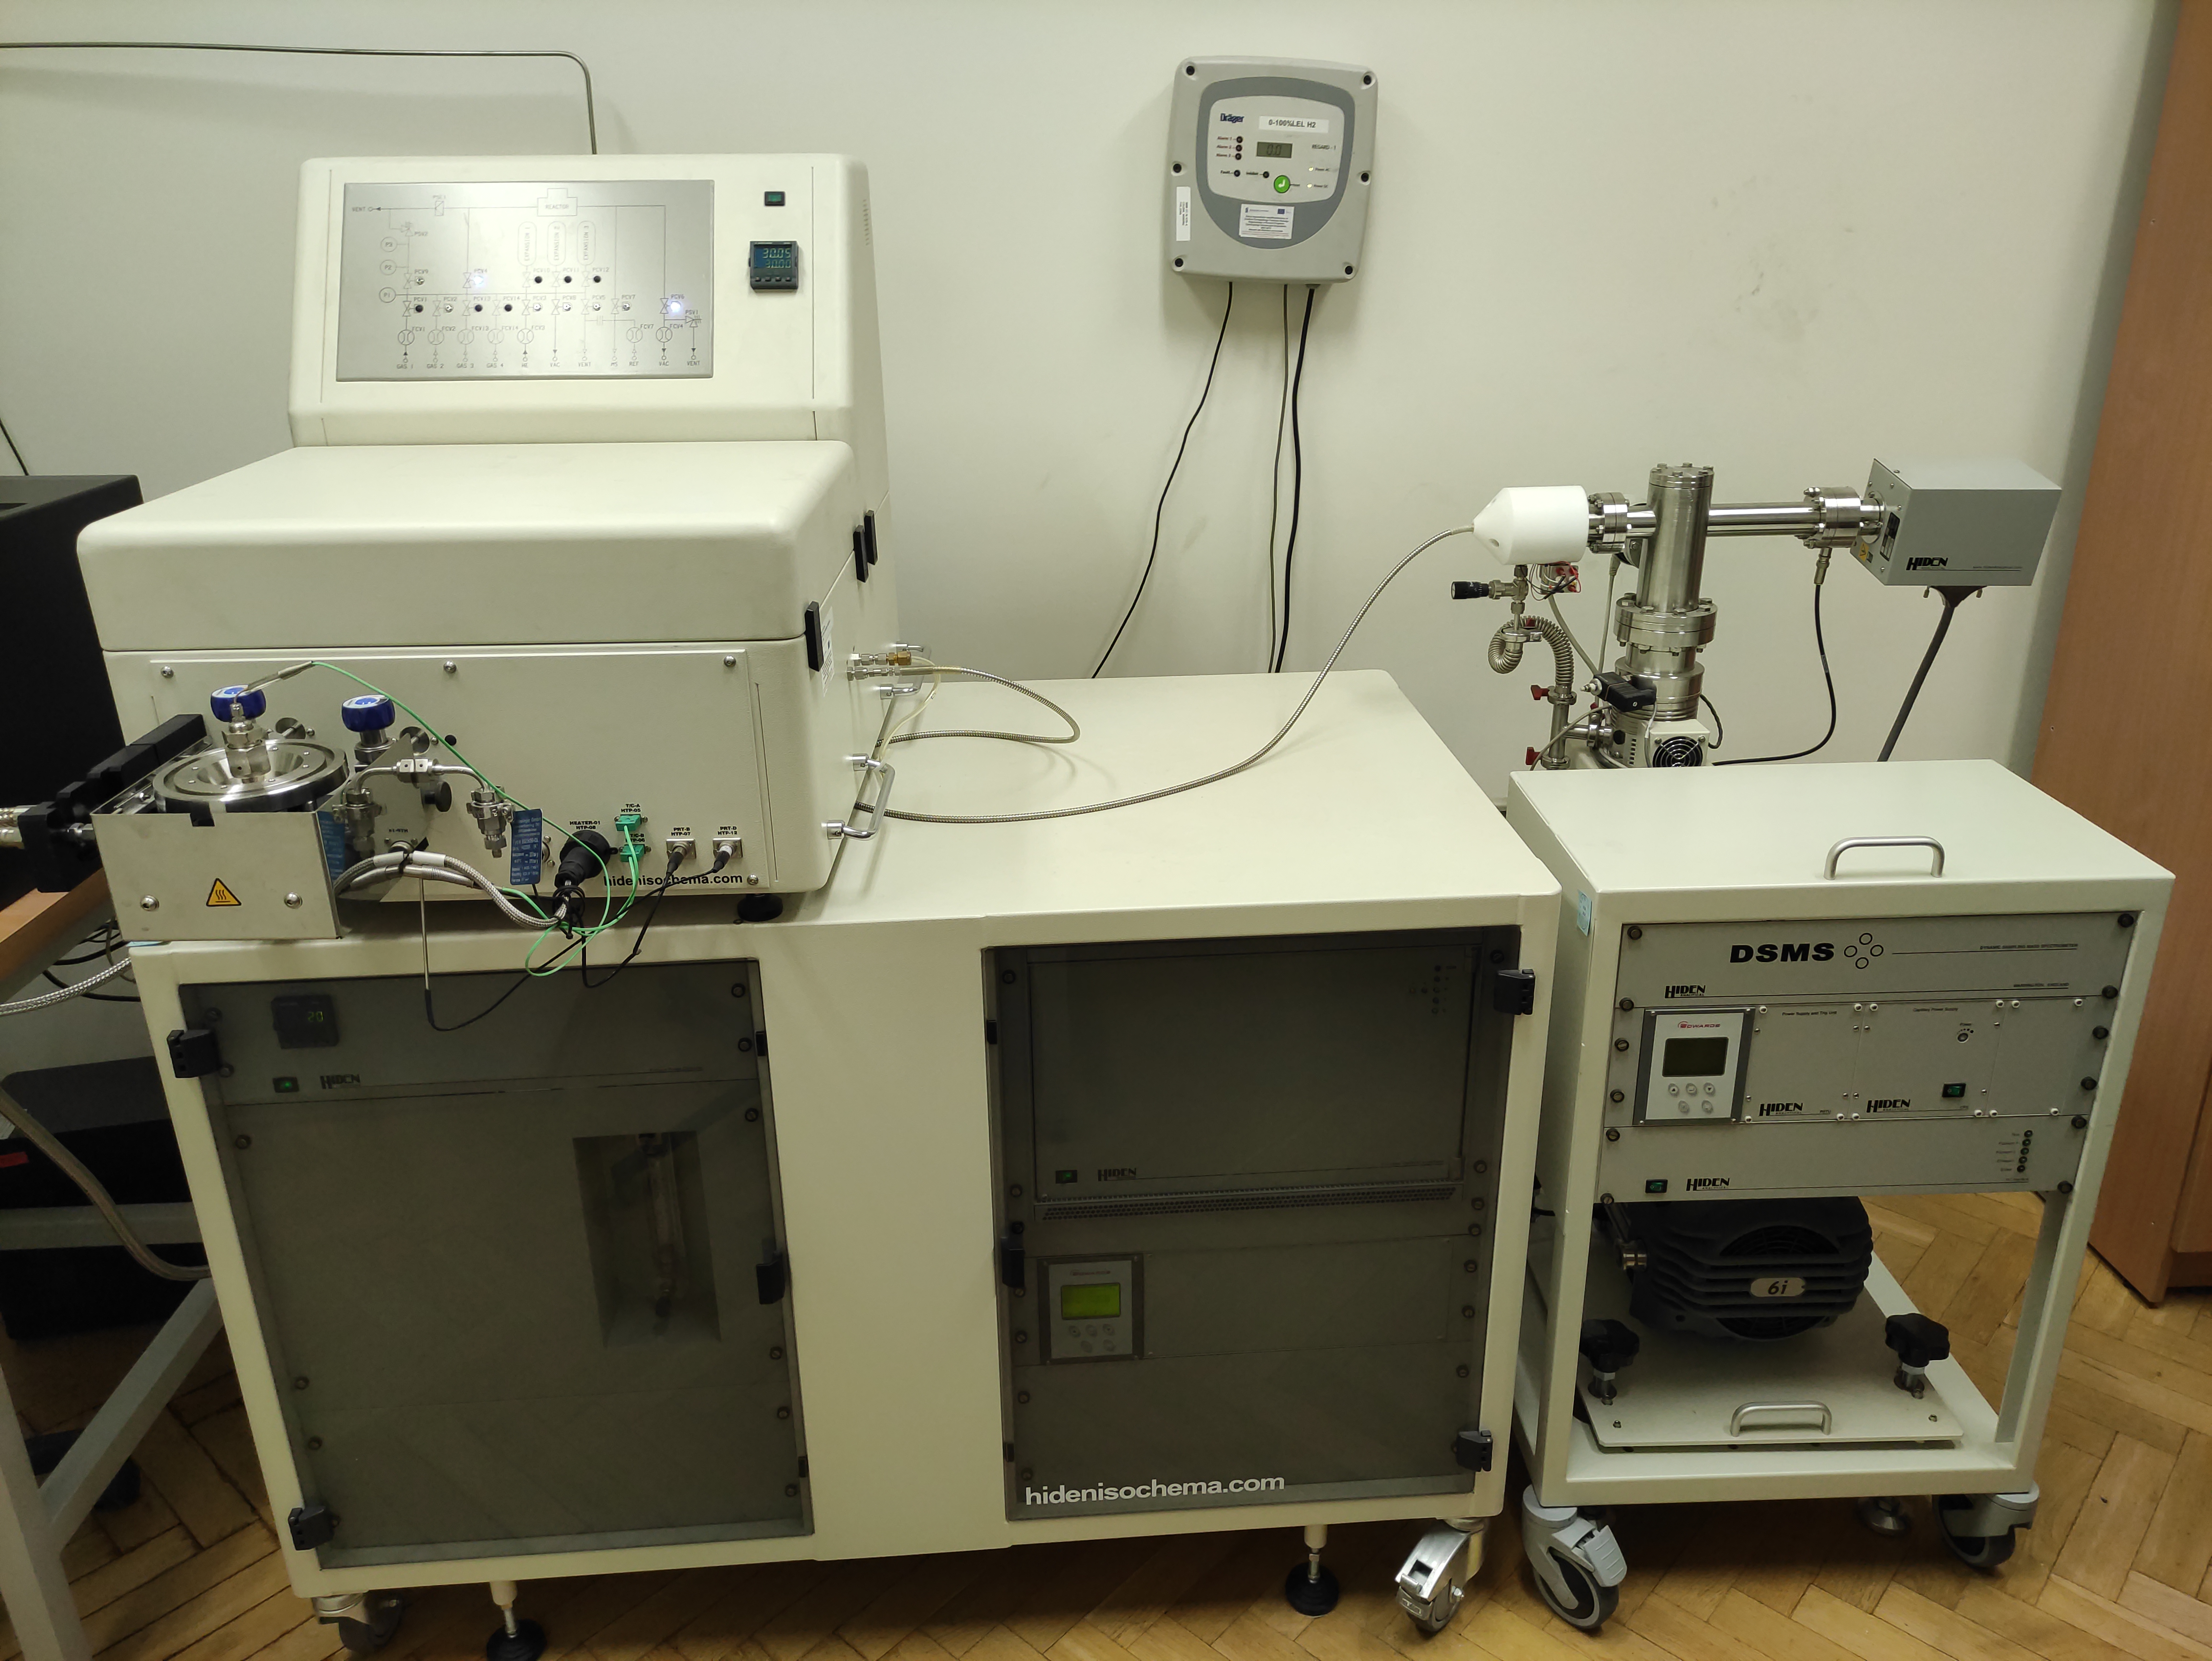
The Hiden Isochema sorption measurement system allows for automatic isothermal absorption and desorption of hydrogen and other gases in both solid and powder samples using Sievert's method. It is possible to test samples in the temperature range from -196 ○C to 500 ○C in the pressure range up to 200 bar. Based on obtained results from hydrogen isothermal absorption and desorption cycles (presented as a mass or atomic percentage as a function of time) the enthalpy of formation and decomposition of tested materials can be determined. In addition, this device cooperates with a mass spectrometer and allows to perform the temperature programmable desorption (TPD). It is also possible to lead the sample into the reactor in a protective gas atmosphere (dedicated to reactive materials).
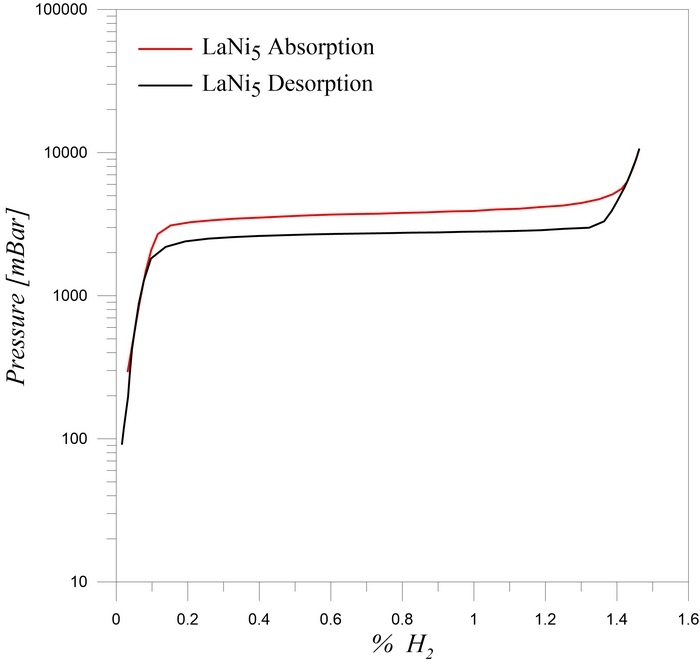
Hydrogen absorption and desorption isotherms of the LaNi5 sample at 40 ºC.
Range of research:
- Performing hydrogen absorption and desorption isotherms in solid and powder samples.
- Performing tests of samples in the temperature range from -196 °C to 500 °C.
- Determination of the enthalpies of formation and decomposition of studied materials.
- Performing temperature-programmable desorption (TPD) runs.
Performance parameters of the hydrogen sorption measurement apparatus Hiden Isochema:
- Temperature can be controlled from the software with an accuracy of not less than 0.1 °C.
- A special liquid nitrogen dewaring system and power supply system allow measurements to be taken at a temperature close to that of liquid nitrogen.
- Possibility to test samples in to pressure ranges: low-pressure range (0-1 bar) and high-pressure range (0-200 bar).
- Vacuum system with turbomolecular pump ensuring a vacuum in the reactor not less than 1·10-5mbar.
Preparation of samples for investigation in the L-8 laboratory.
The way samples are taken and delivered for analysis is the responsibility of the Customer. The Customer shall be advised to take samples so as to be representative of a given batch of material.
- Dilatometric tests:
Samples for dilatometric testing should be of sufficient length (50 mm). The surface of the test samples shall be smooth and clean. The parallelism of the test surfaces shall be maintained.
- Hydrogen sorption test:
The shape and form of samples for sorption testing are determined individually with the customer. Maximum test sample size: roller 10 mm long and φ 6 mm or powder.
The ones who are interested in carrying out the experiments by using the presented above methods should contact:
Head of the laboratory L-8:
Adam Dębski PhD DSc, Eng.
tel: 12 295 28 14
e-mail:
a.debski@imim.pl
